iPhone voicemail is one useful tool that enables people to leave you voice messages when they can’t reach you by calling. After you got a new iPhone or just updated to new software update like the iOS 11 final version, you may need set up voicemail on your iPhone to get all your voice messages that sent by your contacts. To correctly set up voicemail on your iPhone, you can follow our step by step tutorial below.
Related Reading: How to Fix iOS 11 Voicemail Not Working
How to Set up Voicemail on iPhone
iPhone users may use different network carriers like AT&T, T-Mobile, Sprint, etc. And for these different network carriers, the steps to set up iPhone voicemail are almost similar. So you can follow the below steps to set up voicemail on your new iPhone step by step.
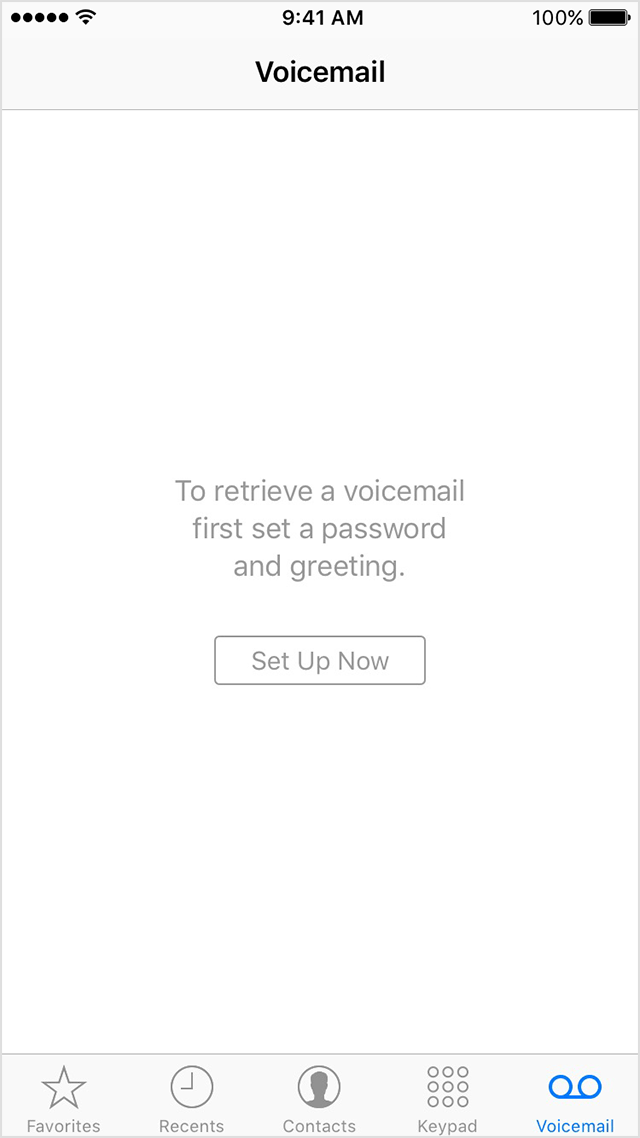
Step 1. Go to the Phone app on your iPhone 7 and tap the Voicemail, then click “Set Up Now”.
Step 2. Create a voicemail password and click “Done”, then enter your password again to confirm it and tap “Done”.
Step 3. Then you are on the Greeting page, choose Custom or Default (If you select Custom, you can record a new greeting as you like).

If you can’t set up voicemail on iPhone
If you couldn’t set up voicemail on your iPhone, you can try the following tips to fix the issue.
- Check cellular network connection on your iPhone by calling someone.
- Check out whether you have set up your voicemail. To check, you can dial your phone number from your iPhone.
- Call your iPhone from another phone and leave yourself a voicemail.
- Choose “Reset Network Settings”, in Settings app on your iPhone > General > Reset.