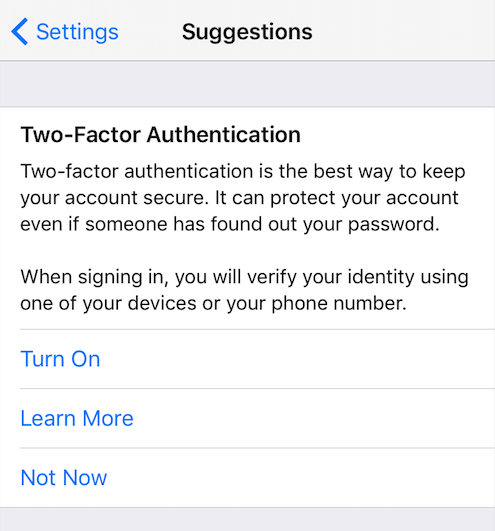
Two-factor authentication provides us a higher level of security to ensure our accounts are not hacked. There are many websites implement two-factor authentication service, of course, Apple included. Notably, it seems that Apple starts to put more focus on account security in recent. The evidence is that Apple pushes notification to users to enable two-factor authentication in iOS 10.3 or later. If you haven’t set up two-factor authentication for your Apple ID, you’ll find a warning under Apple ID profile section in Settings that suggest you to turn it on.
With two-factor authentication turned on, you need to verify your identity every time you sign in with your Apple ID on a new device. To verify your identity, you are not only asked to enter your Apple ID password, but also a 6-digit verification code that’s automatically displayed on your trusted devices.
How to Turn on Two-Factor Authentication for Your Apple ID
If your device is running iOS 9 or OS X El Capitan or later, follow these steps to turn on two-factor authentication for your Apple ID.
- On iPhone, iPad, or iPod touch:
- Go to Settings > [your name] > Password & Security. If you are using iOS 10.2 or earlier, go to Settings > iCloud, tap your Apple ID > Password & Security.
- Tap Turn on Two-Factor Authentication > Continue.
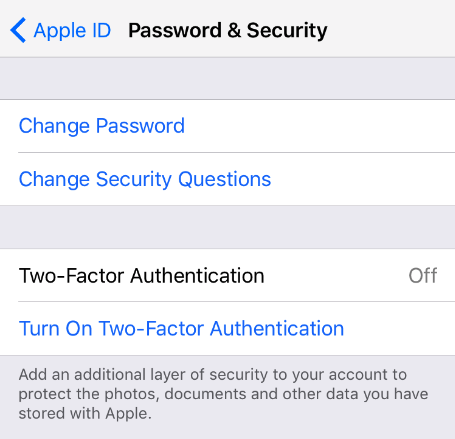
How to Turn On Two-Factor Authentication on iPhone 7 - Enter a phone number that can be used to verify your identity with a text message or phone call. Tap Next and wait for the verification code from Apple.
- Enter the verification code you received.
- On Mac computer:
- Click on the Apple icon > System Preference > iCloud > Account Details. Enter your password if asked.
- Choose Security.
- Click Turn on Two-Factor Authentication.
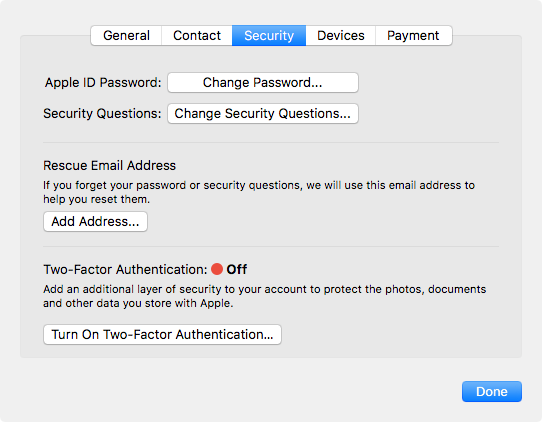
How to Turn On Two-Factor Authentication on Mac
What to Do if You Can’t Receive Verification Code
Usually, if you sign in to a new device or browser, a sign in notification will displayed on your trusted device automatically. Tap Allow and then you’ll get a 6-digit verification code. If you can’t receive a verification code on the trusted device, you can manually find the code with following steps:
- On iOS device: go to Settings > [your name] > Password & Security and tap get Verification Code.
- On Mac computer: go to System Preferences > iCloud > Account Details. If your device is offline, click Get Verification Code; if your device is online, click Password & Security > Get Verification Code.
When you don’t have a trusted device at hand, you can get a verification code via text message or phone call with these steps:
Click “Didn’t get a verification code” on the sign in screen and choose to have the code sent to your phone number. Then you’ll get a text message or phone call from Apple with your verification code. Enter the code to continue.
Tip: After you turn on two-factor authentication for Apple ID, you cannot turn it in Setting (iOS Device) or System Preference (Mac). To turn off two-factor authentication for your Apple ID, you need to visit Apple ID account page to make it.