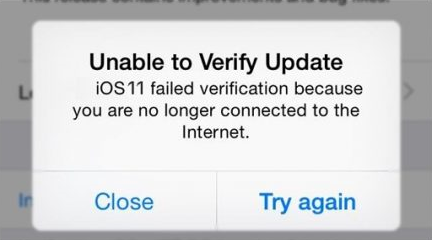
By now, the majority of iPhone and iPad users have updated their device to iOS 11, iOS 11.1, or later iOS 11.1.2. For most users, it was a smooth and easy process to install iOS 11/iOS 11.1 update. However, some users may encounter some iOS 11 updating issues like iPhone stuck in recovery mode, not enough storage for updating and so on. Another problem you may face is receiving an error message: “Unable to Verify Update. iOS 11 failed verification because you are no longer connected to Internet”.
ios 11.1 failed verification because you are no longer connected to the internet. i’ve tried using my updated itunes and through wireless. ain’t no one got time for this. makes me not want to update my apple iphone. 😩
— Jon Brightside (@arche) November 8, 2017
This error may continuously pops up even though you are connected the Internet. To fix this annoying iOS 11/iOS 11.1 Unable to Verify Update error on iPhone or iPad, we wrapped up 6 basic tips for you.
Also read: Unable to check for update when installing iOS 11. How to fix it?
How to Fix iOS 11/iOS 11.1 Failed Verification on iPhone or iPad
1. Make sure network connection is stable
If you get iOS 11.1 unable to verify update error with iPhone/iPad, firstly you should make sure that you are connected to a stable network. Besides, you can try updating your device to iOS 11.1 or iOS 11.1.2 using another Wi-Fi network.
2. Close Settings app and re-launch
According to feedback from some Apple users, they solve iOS 11.1 Unable to Verify Update problem by simply closing Settings app and then reopening it.
- Step 1. Double click the Home button to see your open apps.
- Step 2. Find Settings app and swipe up to close it.
- Step 3. Then, wait a few minutes, tap Settings app to reopen it and try to download the new update again.
3. Delete the update and then re-download
Sometimes a corrupt update may make iOS 11 fail to verify update. You can remove the software update on your iPhone and see whether it fix the problem.
Step 1. Go to Settings > General > Storage&iCloud Usage
Step 2. Tap Manage Storage > Software Update > Delete Update
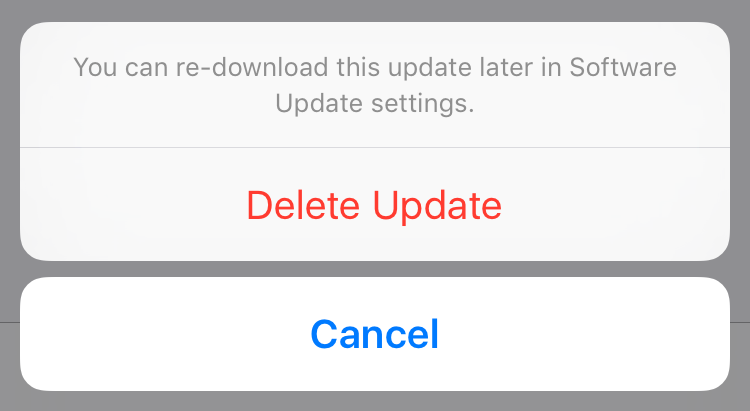
Step 3. Connect iPhone to WiFi and head to Settings app to re-download the update.
4. Restart or force restart your iPhone
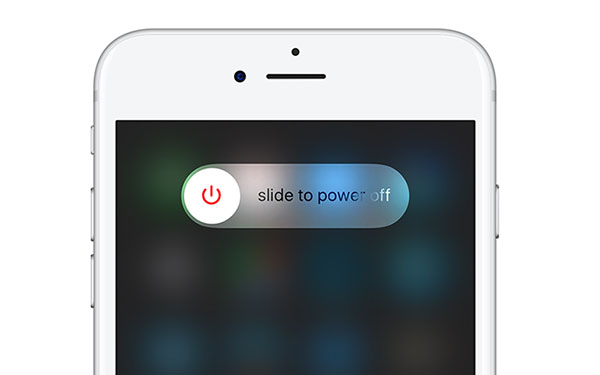
If deleting the update doesn’t work, you can restart or force restart your iPhone.
To restart iPhone: long press Sleep or Wake button, slide to Power Off and then press Sleep/Wake button until you see Apple logo.
Or force restart your iPhone by following the below steps:
- On iPhone 6s and earlier: long press both the Sleep/Wake and Home buttons for at least ten seconds, until you see the Apple logo.
- On iPhone 7 or iPhone 7 Plus: hold both the Sleep/Wake and Volume Down buttons for at least ten seconds, until you see the Apple logo.
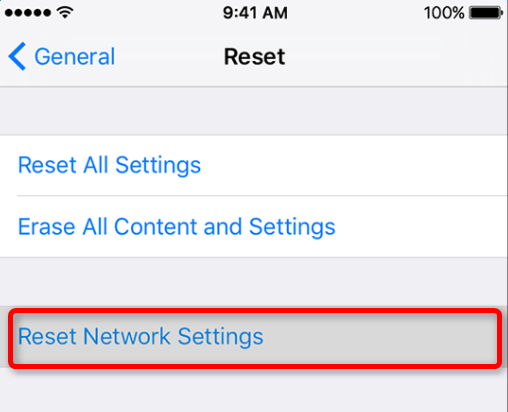
5. Reset network settings
It is possible that there is something wrong with your network settings. You can simply reset network settings to troubleshoot issue. Proceed to Settings > General > Reset , and tap Reset Network Settings.
6. Update iPhone using iTunes
If you still see the “unable to verify update” message, you can update your iPhone using iTunes. Just follow the below steps.
- Step 1. Open iTunes and connect your device to computer
- Step 2. Select your device, click Summary > Check for Update.
- Step 3. Click Download and Update. Enter your password if promoted.